
This is my new assignment, Fantasy Art.
I thought of combining something that can't be combined together, so I make a sky+sea manipulation.
When thought of sky, the first thing I remember is the invention of plane, while sea will be fish.
That's how I come up with "planefish".

http://bestwallpaperhd.com/wp-content/uploads/2013/01/boeing-787-wallpaper.jpg

https://www.pinterest.com/pin/295759900509306455/
I masked out the plane and mermaid by using Quick Selection Tool.
Then, I used Puppet Warp Tool to change the tail's position.
To make both of them blend in well, I need to adjust the masked out area by changing Brightness, Contrast, and Color Balance.
I also used Brush Tool to blend the connection part together, But I change the brush preset to dots style brush.

This is how it looks like after that.

This is the first background that I manipulated.
I added some clouds png and corals png.
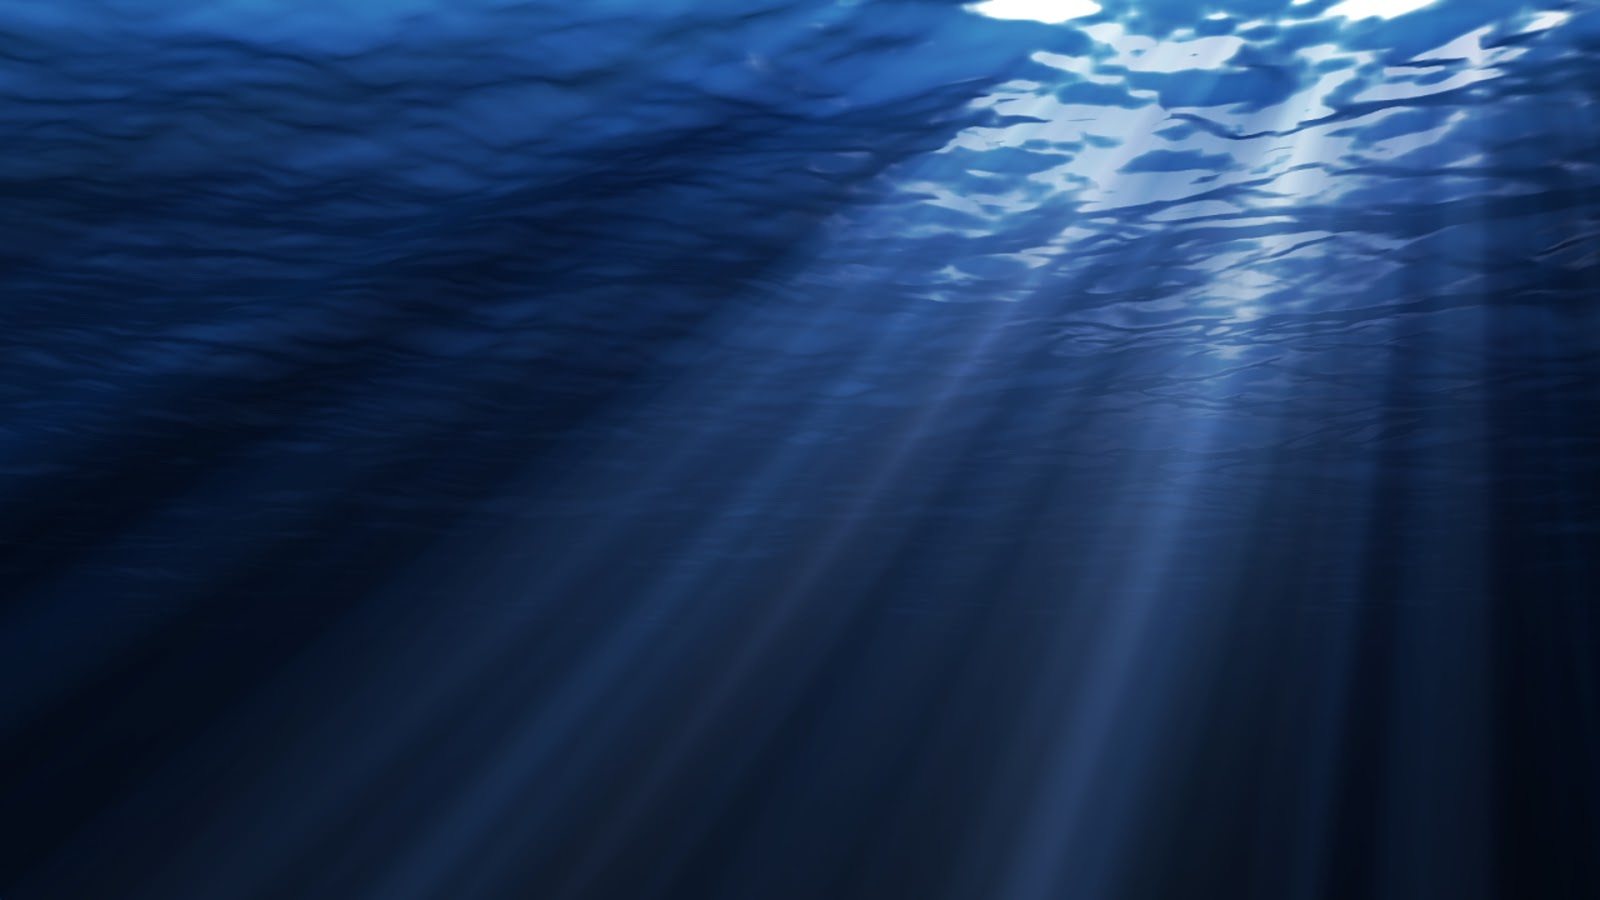
As for the undersea background, I duplicated 3 layers. First Layer is for the base look.
While the second and third layers I masked out the rays part, to make the object in between looks brighter.

http://ian.umces.edu/imagelibrary/albums/userpics/12865/normal_ian-symbol-gorgonian-sea-fan.png

http://www.outworldz.com/Sculpts/cgi/files/textures-under-the-sea/textures-under%20the%20sea/coral-red.png

http://ian.umces.edu/imagelibrary/albums/userpics/12865/normal_ian-symbol-gorgonian-sea-fan.png
Due to certain issues, I can’t show which cloud I used.
Sorry.
As for the clouds, I just Googled for cloud png.

http://www.wallpapervortex.com/wallpaper-11655_sky_clouds.html#.VqjEnfl97IU

This is the final product, I added the 'planefish', stingray, and pigeons.
I masked out the stingray.
Meanwhile, I only paste the pigeons, because I downloaded a png file that has a transparent background.
The only 'tricks' that I used is when I was adjusting the photo(Ctrl+T), I hold the arrow at the corner and pressing (Ctrl) at the same time.
Pressing Shift key will help the photo to zoom in and zoom out at the same ratio, while pressing Ctrl key will change the photo's composition corner by corner.
For me, I think it is something similar to puppet warp, you pin and twist the angle. Just that puppet warp tool is more flexible, you can choose any point to adjust.
I hope you enjoy the photo. :)
No comments:
Post a Comment